
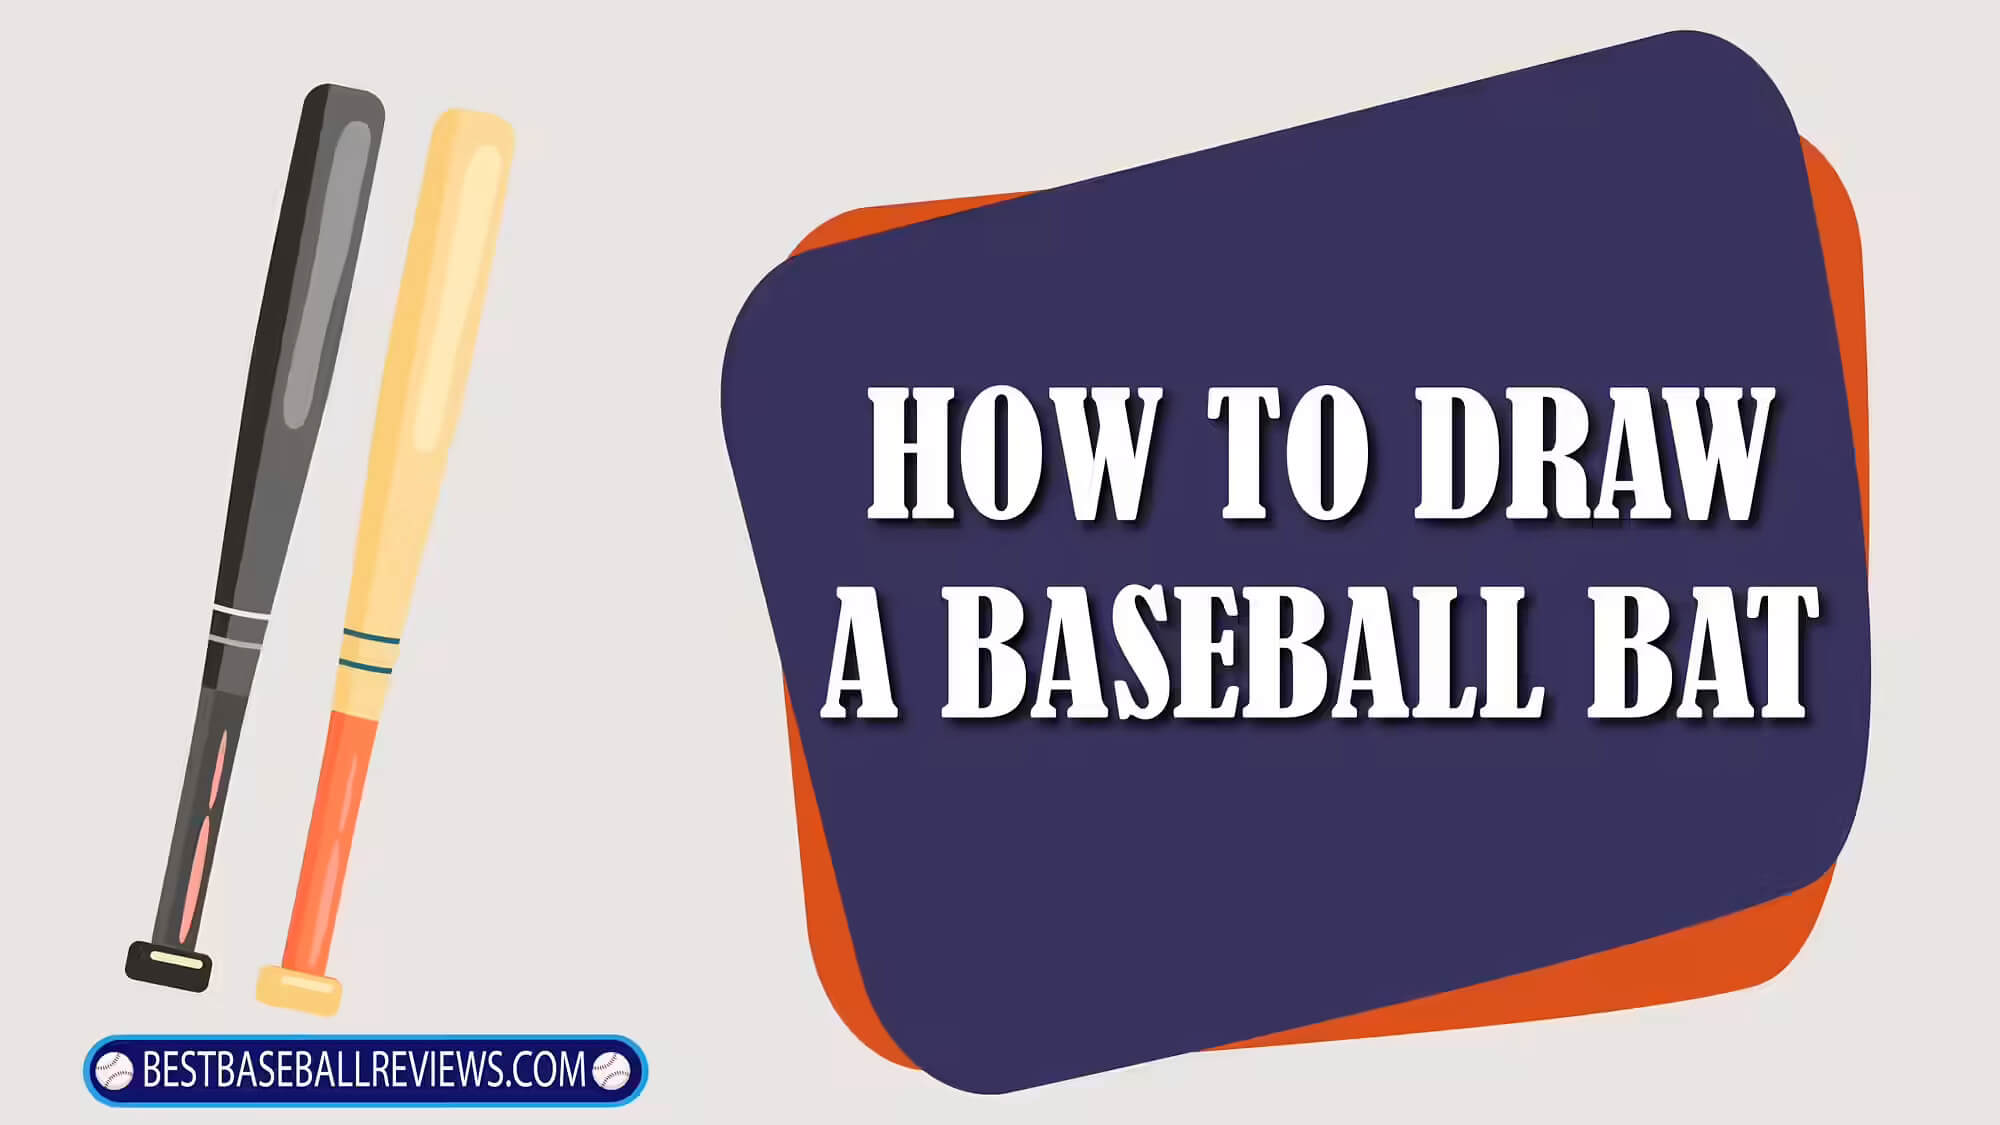
a baseball bat is not the hardest thing to do, similar to drawing a baseball cap. While the cap is something that helps to shade you from sunlight or helps differentiate between players due to the logo on the cap. The baseball bat is, on the other hand, an essential tool for playing baseball.
Before how to draw a baseball bat starts know a bit about bats. A baseball bat will either be using wood or metal and used in many sports such as baseball, softball, and t-ball. When the pitcher throws the ball, the batter will hit the ball using the bat.
Also, when hitting a baseball, the batters need to know about the “Sweet Spot,” which is the best part of the bat and lets you hit a baseball farther and harder.
Before Drawing a Baseball Bat
Surprisingly baseball bats rose to prominence in the 1800s alongside the baseball game. During that time, baseball players curved their bats using a variety of woods. Due to this, none of the bats were of the same dimension.
Some of them were long, while the others were small. While some were quite thick, and others were skinny. In fact, there was an early version of a baseball bat shaped like a banana because the batters thought it would help them get more spin.
But now baseball bats for every league follow a standard set of rules to weed out unfair advantages. Such as no bat can exceed 42 inches or a diameter of 2.61 inches. In particular, the standards also made drawing a baseball bat easier.
Draw a Baseball Bat
Bestbaseballreviews helped you draw a baseball cap previously, and now we are making another drawing instructional article for baseball bats. In general, we have made sure that the steps for drawing a baseball bat are as simple as the baseball cap.
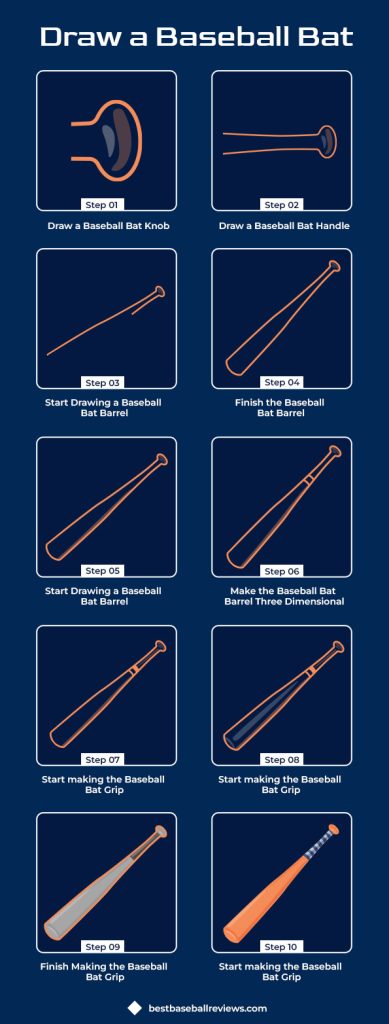
Step 1: Draw a Baseball Bat Knob
To start drawing the bat, the first step is to make the knob of the baseball bat. For the shape of the baseball bat knob, make a simple oval. Inside the oval, draw a curved line on one side only. The line will add some depth that will make the knob seem a bit more three-dimensional.
When drawing the knob, remember that it is the bottom of the overall baseball bat design.
Step 2: Draw a Baseball Handle
The second step of the baseball bat is the handle which also contains the bat’s grip, but that comes later. The structure of the handle is two straight lines parrel to one another, extending outwards.
You should connect the start of the handle to the knob; otherwise, it will look bad.
Step 3: Start Drawing a Baseball Barrel,
We will make the baseball bat’s barrel for the third step or start drawing it. The process begins with drawing a straight line from one of the handles and slightly curving it near the top. The curved portion of the barrel is known as the taper, if you didn’t know.
At the top, the curve should be sharper for the cap of the baseball bat.
Step 4: Finish the Baseball Barrel
In the fourth step of drawing a baseball bat, we will continue making the bat’s barrel. From the top of the bat’s end cap, go down while making the long curved line of the taper. After drawing the taper, the line should be straight and meet the other straight line of the baseball bat’s handle.
Step 5: Make the Baseball Barrel Three Dimensional
To make the whole bat seem more three-dimensional, you will need to draw a long curved line along one side of the bat’s barrel.
Step 6: Start making the Baseball Grip
Simply draw two short curved lines along the bat’s hangle for the grip, one up top and another below. Now you need to shade between the two lines with a baseball bat-appropriate color.
Step 7: Finish Making the Baseball Grip
In the seventh step, we will need to work on the baseball bat’s handle to give the bat a more realistic look. The best way to make the bat look more natural is by adding textural markers.
Curved lines are one of the best textural markers that work for baseball bats. More specifically, the curved line on the grip and knob of the baseball bat.
Step 8: Add Texture to the Baseball Barrel Pt1
Adding textural markers on the baseball bat’s handle won’t be enough. Additional features need to be placed on the bat’s barrel as well.
The textural marker on the barrel will make the bat seem like it’s using wood. Draw multiple curved lines on the baseball bat’s barrel in different sizes and thicknesses. Also, you can add a few dots.
Step 9: Add Texture to the Baseball Barrel Pt2
Before making more textural markers, more parallel lines near the bottom of the barrel. Fill in two parallel lines using an appropriate baseball color and leave the rest. Now fill in the rest of the bat using “U” shaped curved lines for textural purposes.
Step 10: Color the Baseball Bat
At the end of the drawing, the process comes the coloring part. When coloring the baseball bat, use the proper color.
If your baseball bat is wooden, then make sure to use colors that match the wood of different species, such as maple or ash.
Once you draw a baseball bat you can take a turn drawing a baseball bat similar to equipment like a baseball cap. Drawing a baseball bat is an entry-level topic but doing it correctly will help with drawing more complex subjects later.
In fact, knowing to draw baseball bat barrels or knobs and making the baseball bat more threedimensional are critical lessons for other more complex subjects.
Conclusion
By all means, our how to draw a baseball bat instructional article has been made simple and easy to understand. In fact, we tried our best to keep the instructions practical without being too stiff. In any event, we can allow the artist to draw the bat differently if they want to.

